
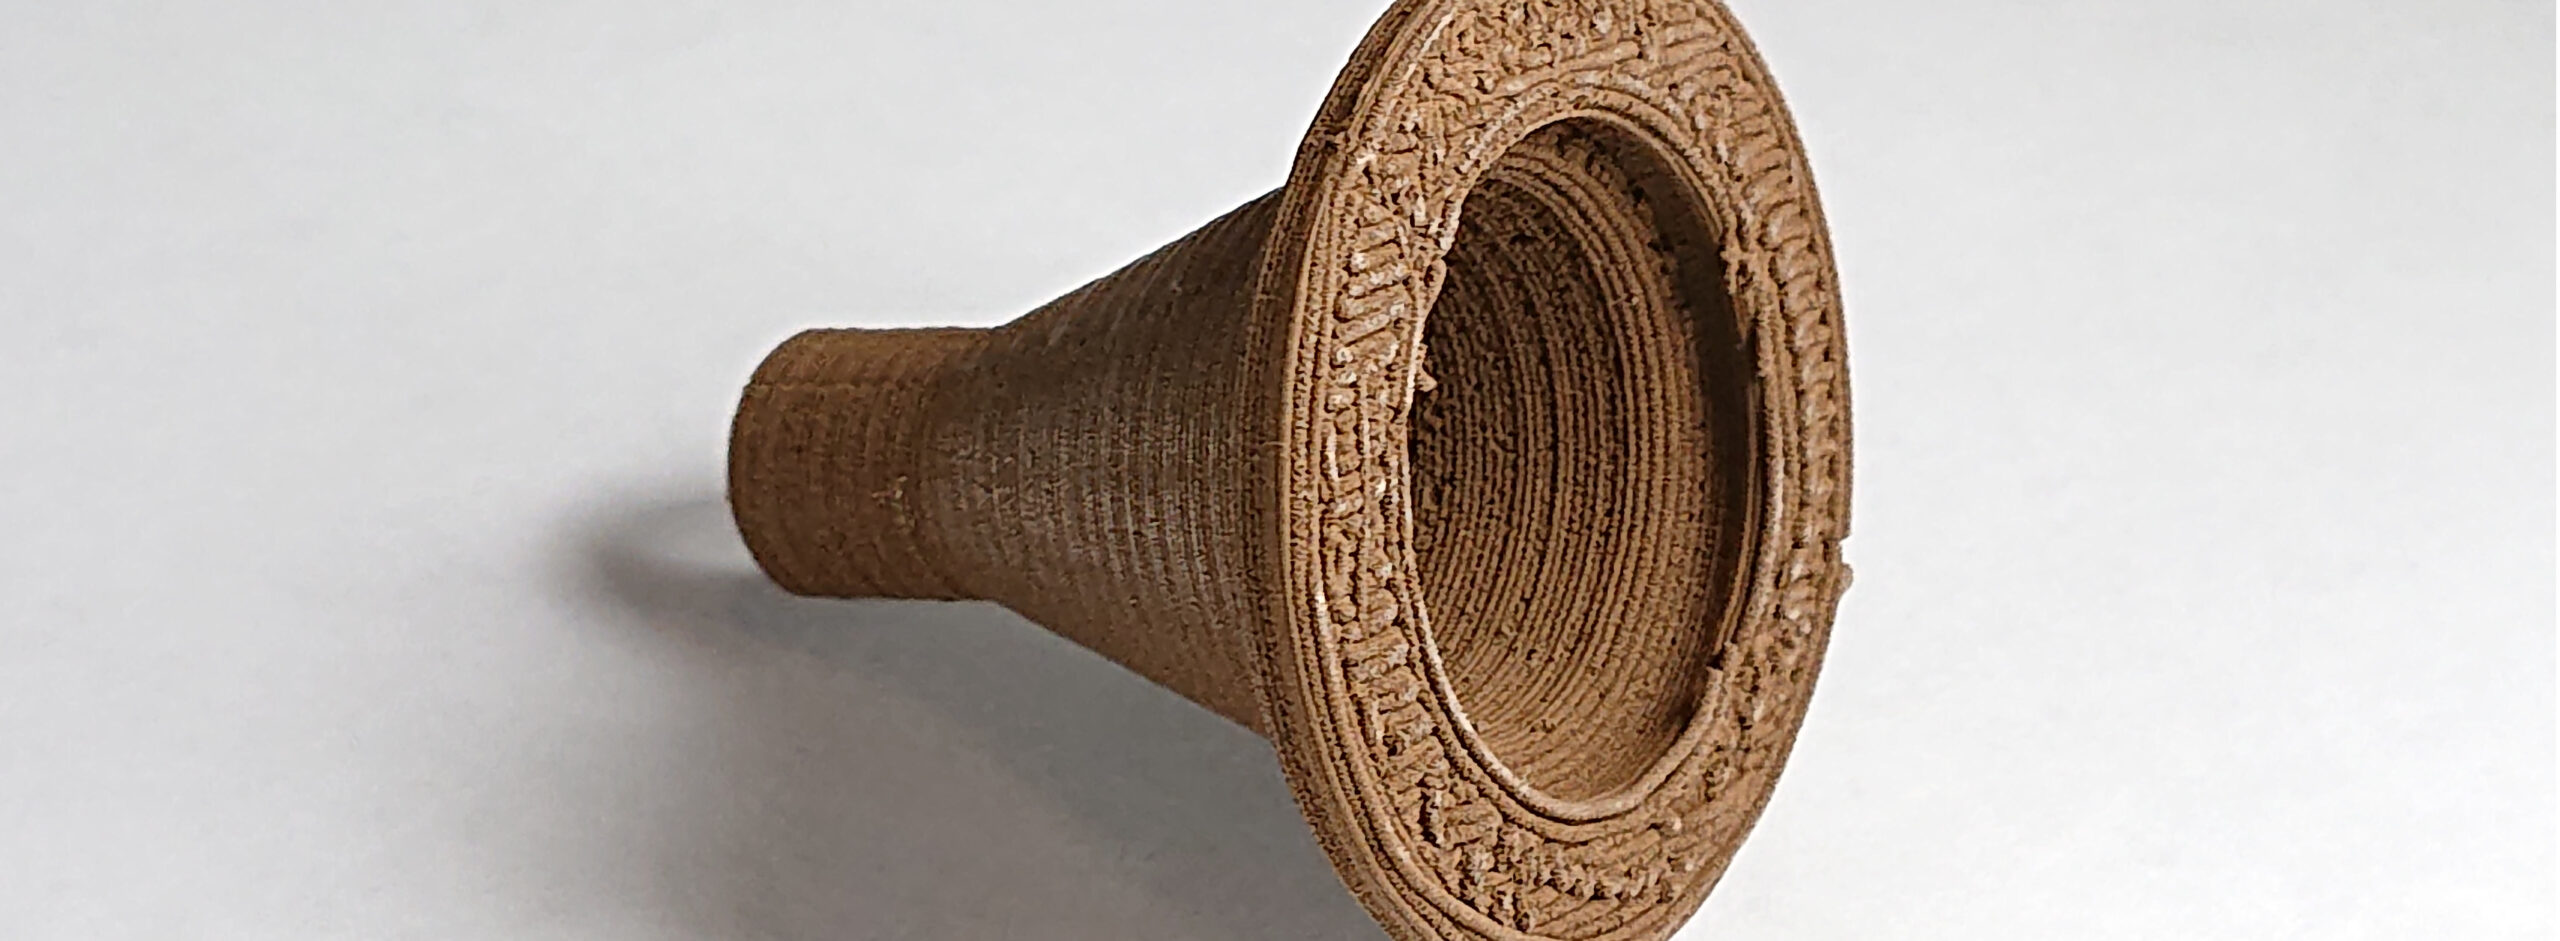
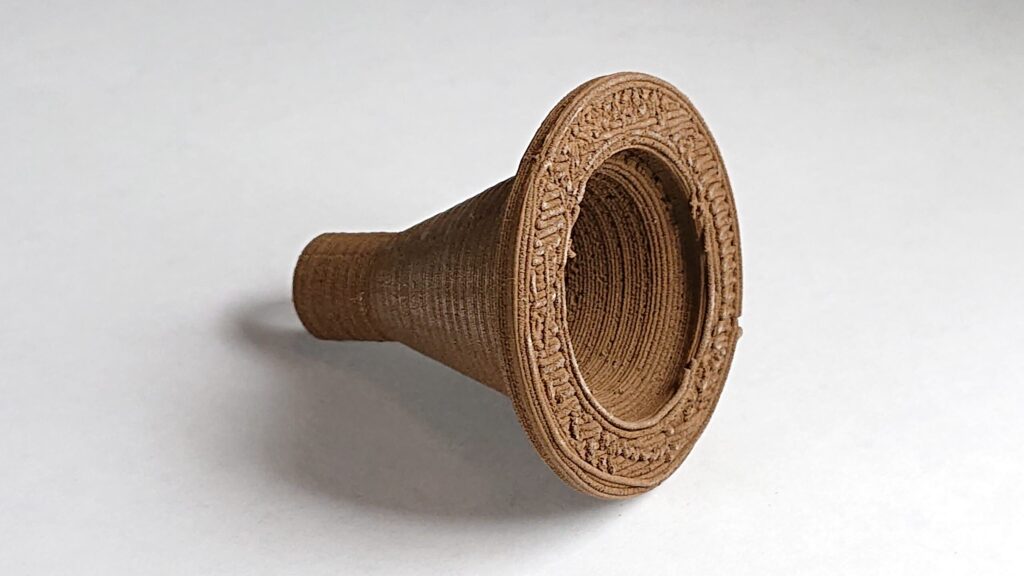
For anybody owning a 3D printer at home, printing plastic object is interesting at first but there is soon an idea or a project that will be better in metal. Metal seems to be for whatever reason the holy grail. So, when I stumble onto Filament metal filaments, I decided to give it a try. Reviews were mixed. Several consumer reported filament strengths as a big problem and the manufacturer acknowledge the issue.
What do ou need for printing metal with your Fused Filament Printer Obviously you need the filament. Filament seems to be the cheapest real metal filament out there. BASF filament is more expensive, and you need to send in your print for the anneal. You need stainless steel nozzles for your printer. These are easily bought online. Using 0.8mm wide nozzles reduces chances of clogging. Remember that these are metal powder filled filament. To reduce distortion during the high temperature, anneal of you prints get the alumina and talc powders as instructed. Carbon powder is also necessary to reduce oxidation during the anneal. All considered you are looking at $100 to $200 investment. But you also need a furnace that can go to 1000C. Small box furnaces such as those used by enamellers or glass slump enthusiasts will do the trick.
How to turn the print into solid metal?
There are two steps, first burning out the plastic and second fusing the metal particle together.
PLA burn out
The first step is to burn the PLA that is in your print. The piece is buried in Alumina powder and temperature is raised at a rate of 55C per hour. It takes 8 hours or so to reach the final burn out temperature 482C. You will smell the burning plastic from say 250 to 400C then it will progressively subside. in this step we want oxidation, so carbon is not used. the temperature is maintained for 5 hours and then the system is left to cooldown on its own. As you see the whole process takes approximately 12 to 13 hours. However, you don’t have to do anything so you can carry on your normal occupation.
Metal anneals.
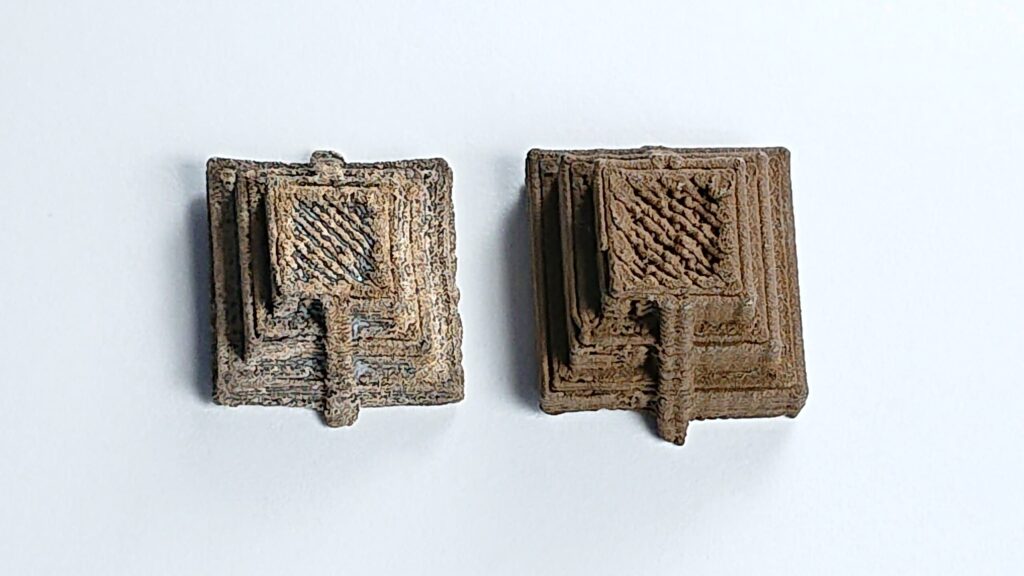
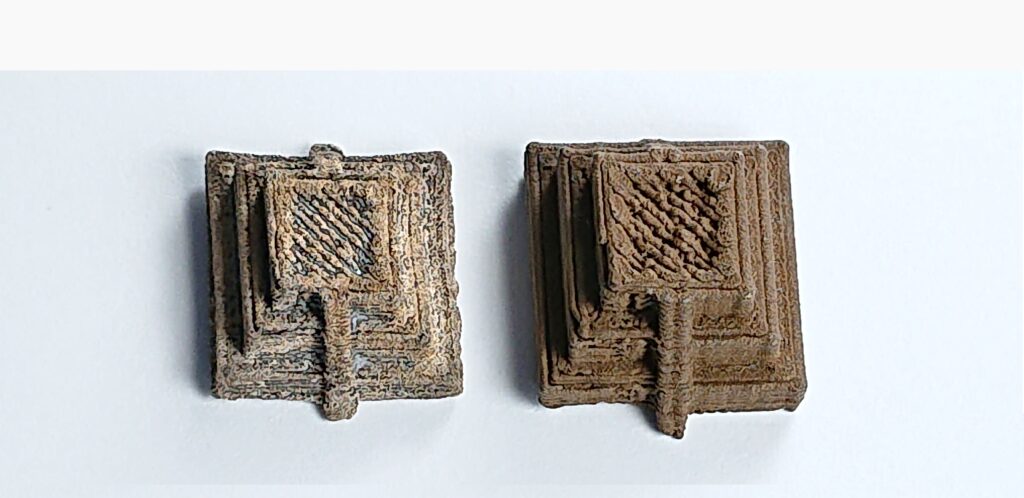
Next day, with everything cooled down you can retrieve the piece(s). An old toothbrush is ideal to get the powder from the print. By that time, it would shrink a bit. despite the binder all gone it stills feels solid. this time the sample is buried in Talc which has a finer texture than alumina. That is meant to better retain the details of the print. The stainless-steel crucible is then topped with a half inch of carbon. heating at a rate of 111C per hour it again takes 8 hours or so to reach the top temperature. Staying at 971 for 4hours or so this step takes 8hr like the first. after cooled down the pieces removed from the talc doesn’t seem or sound metallic. the surface is embedded with talc and oxidized metal. It is only after pickling and polishing that the surface takes the reflective look.

Leave a Reply